I’ve used various hosting services over the years including hosted WordPress, which has been good, but it can sometimes work out costly and also you do not have full access to the infrastructure.
Ubuntu can be deployed easily on Azure for very little cost, or if you have the capacity you can host on your own Virtual infrastructure. Regardless of where you host it as long as you can allow port 80 and 443 to it you can run it as your web server for WordPress. To do this you need to configure it as a LAMP (Linux Apache MySQL and PHP) server. This is the most common software stack for the most popular web applications. In order for some WordPress plugins to work I also needed to install some additional Modules.
Ultimately I needed to install the following servers on Ubuntu:
- Apache
- MySQL
- PHP
- Postfix
Installing the Servers and modules for WordPress
I ran the following to install the services, services and Modules on Ubuntu:
sudo apt-get install apache2 php libsasl2-modules libapache2-mod-php php-gd mariadb-server mariadb-client php-mysql mailutils php-gmp php-mbstringOnce all the servers, modules installed I ran the following commands to enable the use of SSL certificates on websites and also then secure the MySQL Server.
sudo a2enmod ssl rewrite
sudo mysql_secure_installation
Once that has been done you’re ready to then create the folders and config file for your website, pull down the latest version of WordPress and create a database. You will also need to create the certificate request for your SSL Certificate if you do not have one already.
Creating the website
By default the /var/www folder is available for website folders. In order to create the directory structure for the website run the following commands:
sudo mkdir -p /var/www/www.andykemp.dev
sudo mkdir /var/cert
sudo chown -R $USER:$USER /var/www/www.andykemp.dev
sudo chmod -R 755 /var/www
sudo chmod 757 /var/www/www.andykemp.dev
sudo chmod 757 /var/www/www.andykemp.dev
To then create the website config file run the following:
sudo nano /etc/apache2/sites-available/www.andykemp.dev.conf Use the following example for your website config file replace the folder names and certificate names to what your’s are. If you do not have a certificate available at this moment leave as is in the example, you can edit later:
<VirtualHost *:80>
    ServerName www.andykemp.dev
    ServerAlias andykemp.dev
    Redirect / https://www.andykemp.dev
</VirtualHost>
<VirtualHost _Default_:443>
    ServerAdmin admin@andykemp.dev
    DocumentRoot /var/www/www.andykemp.dev
    ServerName www.andykemp.dev
    ServerAlias andykemp.dev
    SSLEngine on
    SSLCertificateFile /var/cert/andykempdev.crt
    SSLCertificateKeyFile /var/cert/andykempdev.key
    SSLCACertificateFile /var/cert/DigiCertCA.crt
<Directory /var/www/www.andykemp.dev/>
    AllowOverride All
</Directory>
</VirtualHost>
If you need to create an SSL Certificate you can do so using this example jsut substitute the -out filename, -keyout filename and the -subj details.
openssl req -new -newkey rsa:2048 -nodes -out andykempdev.csr -keyout andykempdev.key -subj "/C=GB/ST=Edinburgh/L=Edinburgh/O=Andy Kemp/OU=IT/CN=*.andykemp.dev"Alternatively you can use this site to generate the command:
https://www.digicert.com/easy-csr/openssl.htm
Once you have your certificate you need to place the cert files in the locations specified in the website config file, in my case I places in /var/cert. Take note of the names and as always Linux is case sensitive.
Once that has been done you’re ready to then pull down the latest version of WordPress to your site. To do this run the following commands:
wget -c http://wordpress.org/latest.tar.gz
tar -xzvf latest.tar.gz
sudo rsync -av wordpress/* /var/www/www.andykemp.dev
Once the files have been downloaded you’re ready to enable the website. This is done by running the following command:
sudo a2ensite www.andykemp.dev
sudo chown -R www-data:www-data /var/www
sudo service apache2 restart
You’re almost done. all you need to do now is to create the sites database and you’re good to go.
Creating the database
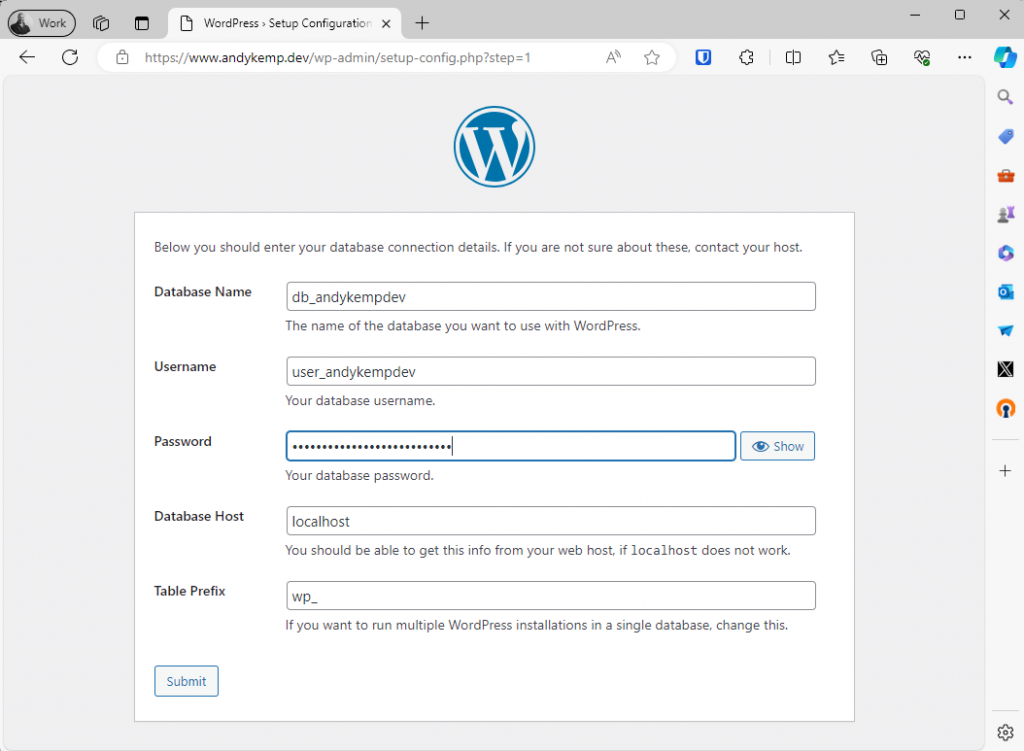
Once you’ve got WordPress downloaded to the website folder and the certificate configured you’ll need to create the site database. Again this is just a few command lines:
sudo mysql
CREATE DATABASE db_andykempdev;
CREATE USER user_andykempdev@localhost IDENTIFIED BY 'MyChosenPAssword1234';
GRANT ALL PRIVILEGES ON db_andykempdev.* TO user_andykempdev@localhost;
FLUSH PRIVILEGES;
Exit
Once that has been done you’re good to go and enable the Website and get it setup.
Setting up the website
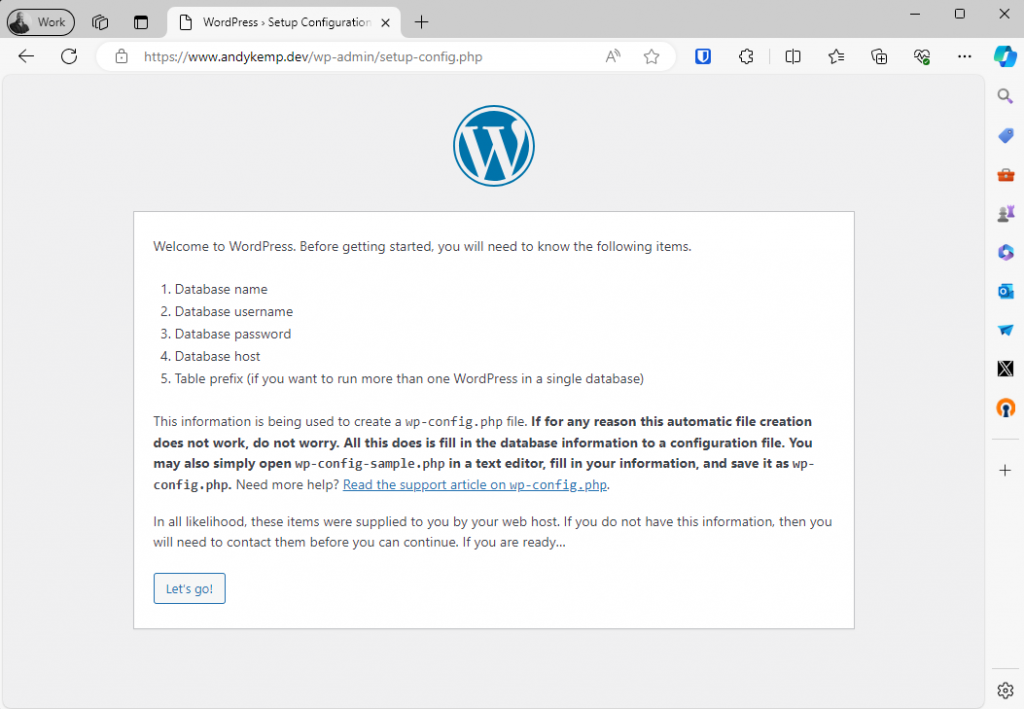
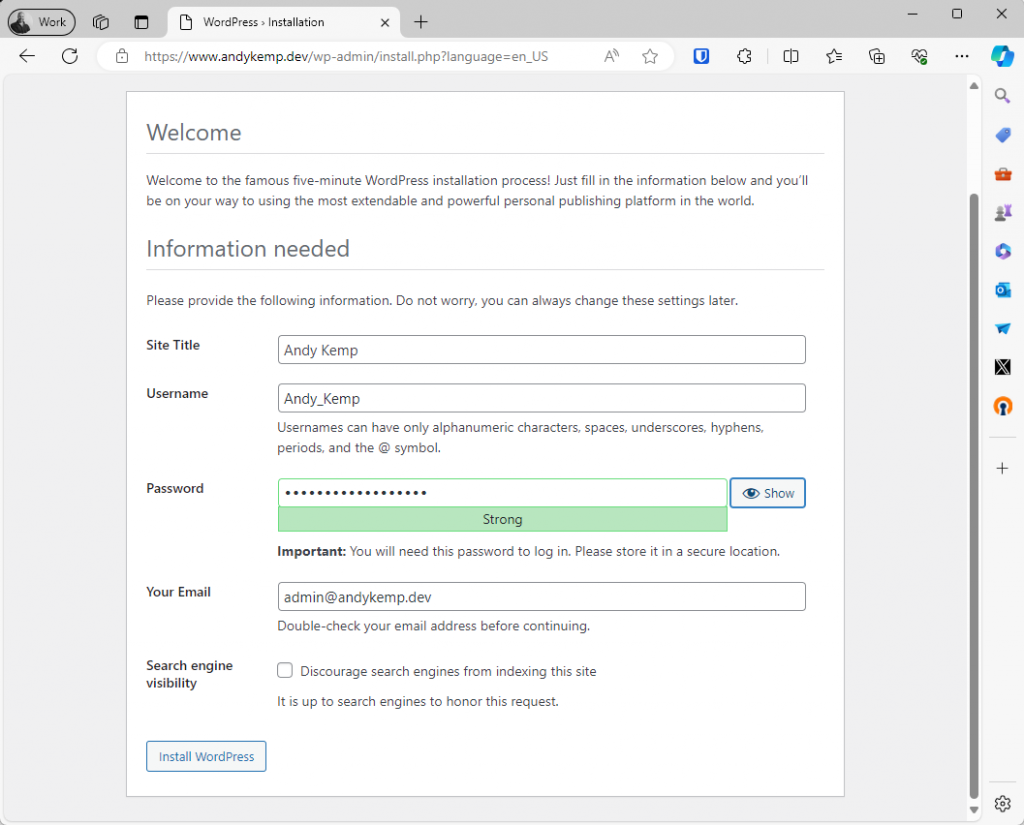
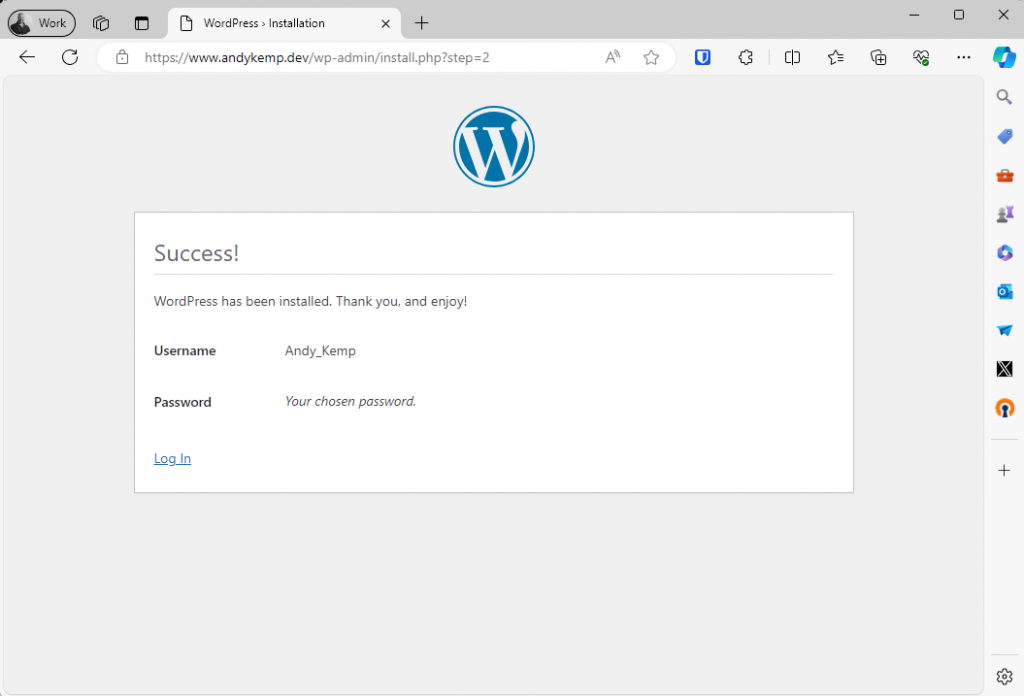
Once all the above has been completed and you’ve set your DNS record to resolve to the public IP of the server you can then browse to the URL and setup WordPress:
So I went to: https://www.andykemp.dev and was presented with the following page:
Was this helpful?
Let me know what you think!