Introduction
I recently with picked up a Microsoft Surface Laptop with Copilot. I wanted to go throguh my frustrations with it to get a clean install of Windows 11 on there. It took a lot of trial and error, but I got there in the end. So if you are wanting to do a clean install of Windows 11 on a Surface Laptop 7th Edition then keep on reading.
If I’m being honest I wasn’t actually fussed with the Copilot key, I personally think its all a bit gimmicky. I did however want to get a new Windows device for testing and as my Mac uses the arm processor I thought I’d go for the new Arm processor on the Surface.
So, first things first, the unboxing, my view is it has Apple written all over it. It’s a nice touch.
The Device itself. It seems to be well built and its a good looking piece kit. Now, I know I have switched my allegiance from Windows to Mac OS and from a device perspective Surface to Mac, but both have their place.
Clean Windows Install
If you’re like me then when you get a new device the first thing you do is perform a clean install of Windows 11. The device had Windows pre-installed but was only Windows Home and the image was in the excess of 70GB, 70GB what the actual…. What’s on there? why does a clean in install of Windows need to be 70GB.
So I did what most people like me do, build a bootable USB with Windows 11 Enterprise. First I tried Rufus to create the bootable USB, it successfully created one, however the Surface, just didn’t want to boot form USB. Not the end of the world, I put the USB into my Mac and started up my Parallels Windows VM , created a recovery Drive and then copied the contents of the Windows ISO to the USB. That did the trick, I could successfully boot form USB. I booted in to the Windows installer, all good, you’d think! I was unable to use the keyboard or mouse in the installer.
I’ve done this so many times before with my older Surface devices, and also any other Windows device. boot via USB, delete partitions, install Windows then complete the setup. Could I do this on the new Surface, nope! I mean seriously Microsoft! your own Operating System cannot be installed cleanly on your own hardware?
Not to worry, lets use an external USB keyboard I thought, I have a USB keyboard kicking around so I plugged that in the surface, guess what, it still would not respond! I could not do a clean install like I’d done hundreds of times before!
So it appears the only way to image the new surface was via the recovery image, seriously! So I downloaded the recovery image using the Surface IT Toolkit and then kicked off the download, all 12.5GB of it. There is another way to do this, download the recovery image from here and then create a recovery device on the USB and then extract and coy all the files from the 12.5GB download to the USB Drive and overwrite any files it prompts you to.
USB Ports
One other thing I noticed with the install if I plugged the USB Drive in to the USB-A ports then the initial installer required drivers to detect hardware. Where as when using the USB-C with the adapter it would come up with the select language, but not let me do anything as the Keyboard/Trackpad were not recognised. Plugging in a USB Keyboard or Mouse didn’t seem to work either as the USB-A port wasn’t working in the Windows Installer.
Next was to try using another USB-C adapter for the mouse and “Hey Presto” it worked! I could install Windows, however when I got to the select network I needed to install a driver for the Wireless network adapter. Genius! again, a Microsoft OS does not recognise Microsoft Hardware! This was a step in the right direction, but still not quite there.
Add Surface Drivers to Windows install image.
In order to successfully complete a Windows install I needed to install the drivers as part of the installer this required using the Deployment Image and Servicing Management (DISM) Tool.
The Surface Drivers can be downloaded from here: Download Surface Laptop 7th Edition from Official Microsoft Download Center once downloaded the drivers need to be extracted. The best way to do this is run the following command:
$msiPath = "C:\SurfaceDrivers\SurfaceLaptop7_ARM_Win11_26100_25.023.35949.0.msi"
$targetDir = "C:\SurfaceDrivers\Extract"
Start-Process msiexec.exe -ArgumentList "/a $msiPath /qb TARGETDIR=$targetDir"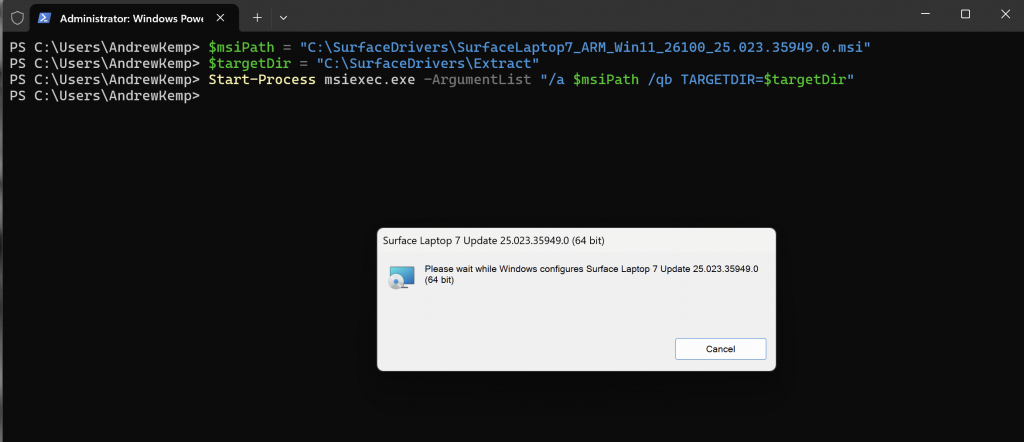
This will then extract the files in the drivers package to the target directory.
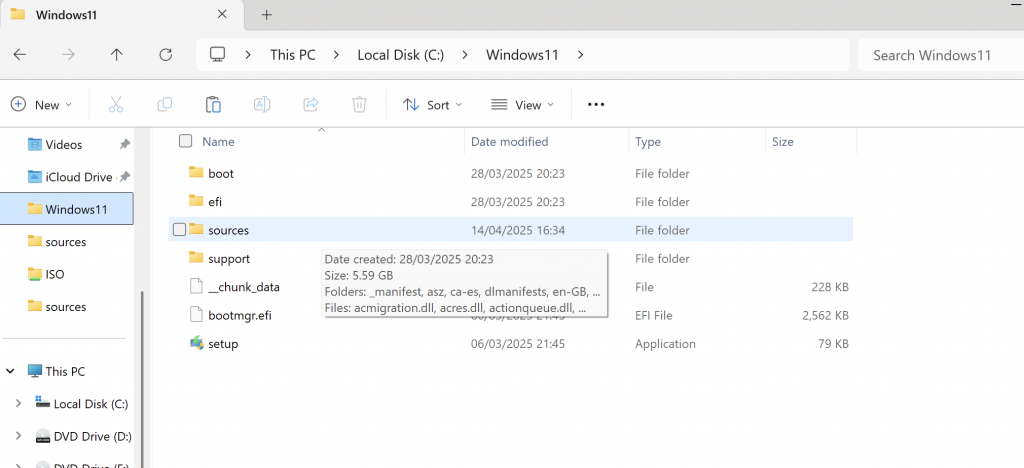
Next you need to mount the ISO image and copy the files to a local directory. In my case I have copied to c:\Windows11:
Next you need to mount the install.wim file:
Dism /Mount-Image /ImageFile:C:\Windows11\sources\install.wim /MountDir:C:\temp /Index:1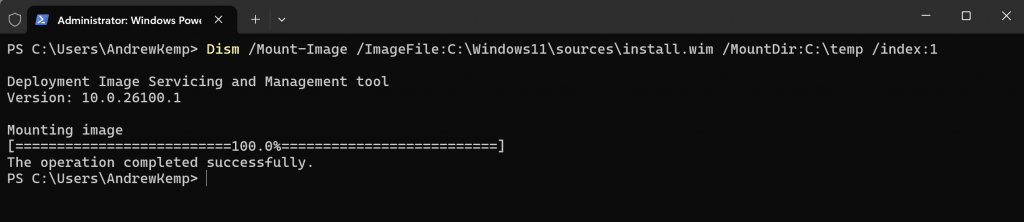
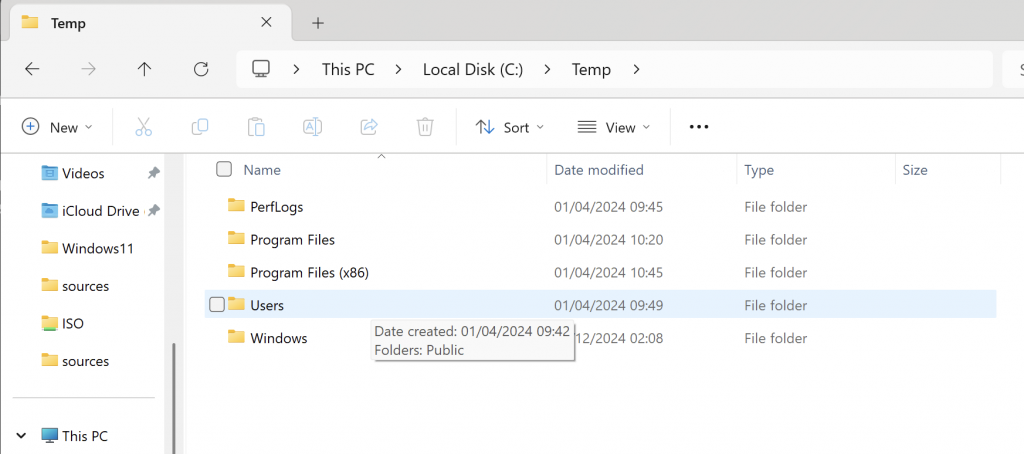
Browsing to C:\Temp I can then see the Windows files:
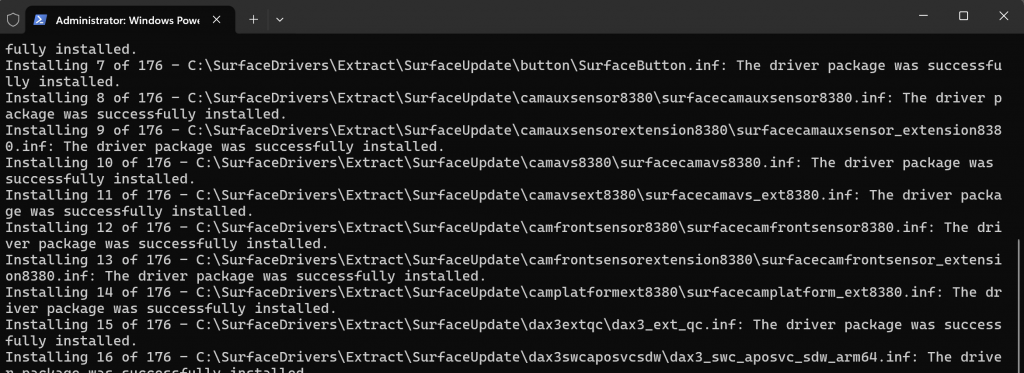
Then, to add the drivers I ran the following command:
Dism /Image:C:\Temp /Add-Driver /Driver:C:\SurfaceDrivers\Extract /RecurseAll drivers that were extracted were then added to the mounted install.wim file:
To verify that the drivers are applied to the image run the following command:
Dism /Image:C:\test\offline /Get-DriversThen the last thing to do is commit the changes and unmount the image with the following command:
Dism /Unmount-Image /MountDir:C:\temp /Commit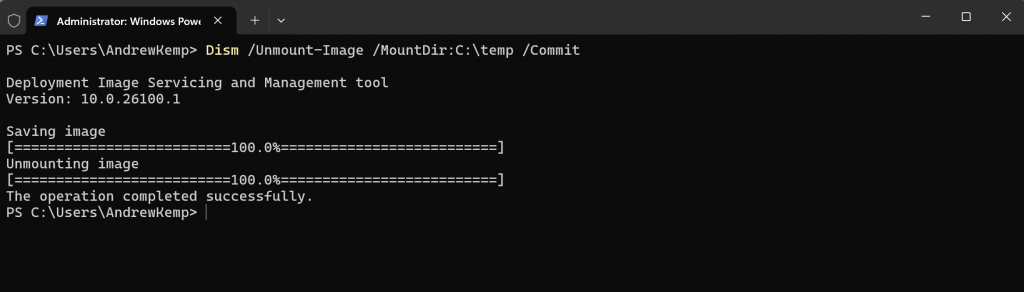
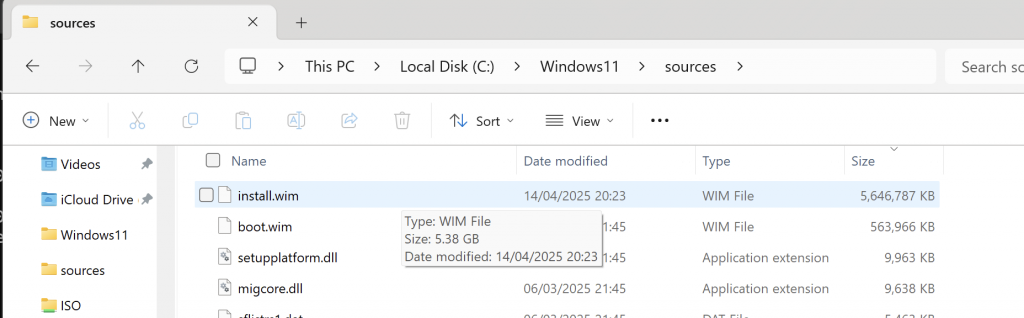
This process can take some time, so go and get yourself a cuppa. This will increase the install.wim file a bit
Before:
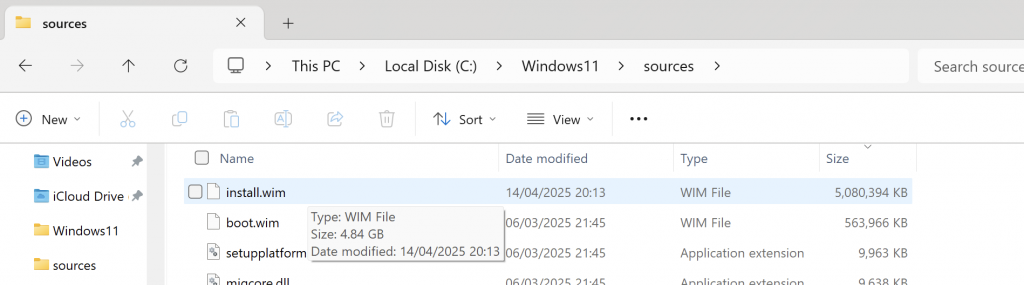
After:
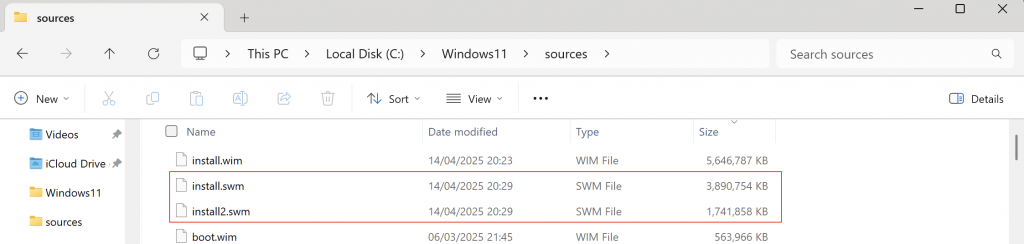
Once that is done you need to split the install.wim file in to 2 parts so it can be copied on to the USB drive. As the file on its own is too big to copy to the USB drive as it uses FAT32 which does not support files larger than 4GB. This too uses the DISM tool, so run the following command:
Dism /Split-Image /ImageFile:C:\Windows11\sources\install.wim /SWMFile:C:\Windows11\sources\install.swm /FileSize:3800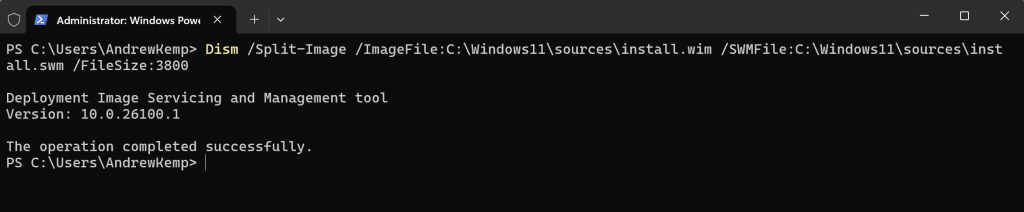
Create a Windows 11 Bootable USB Drive
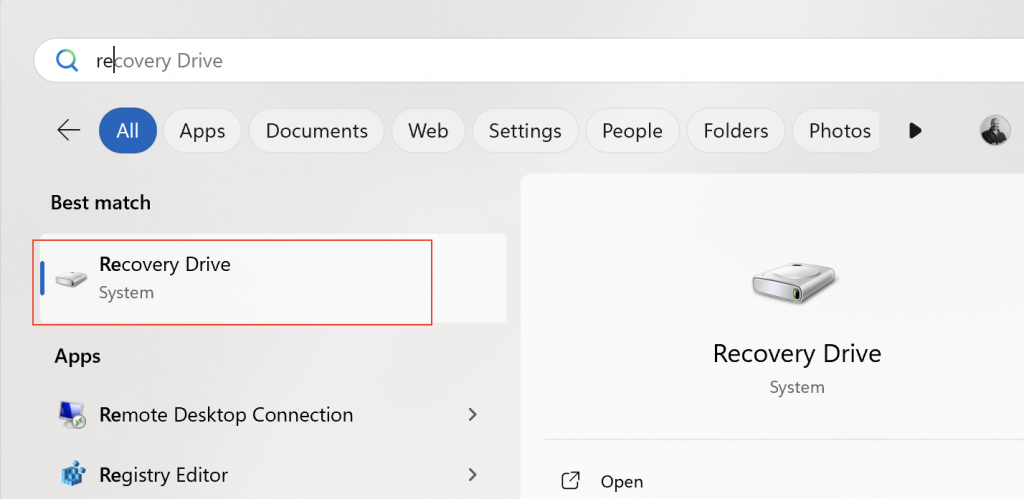
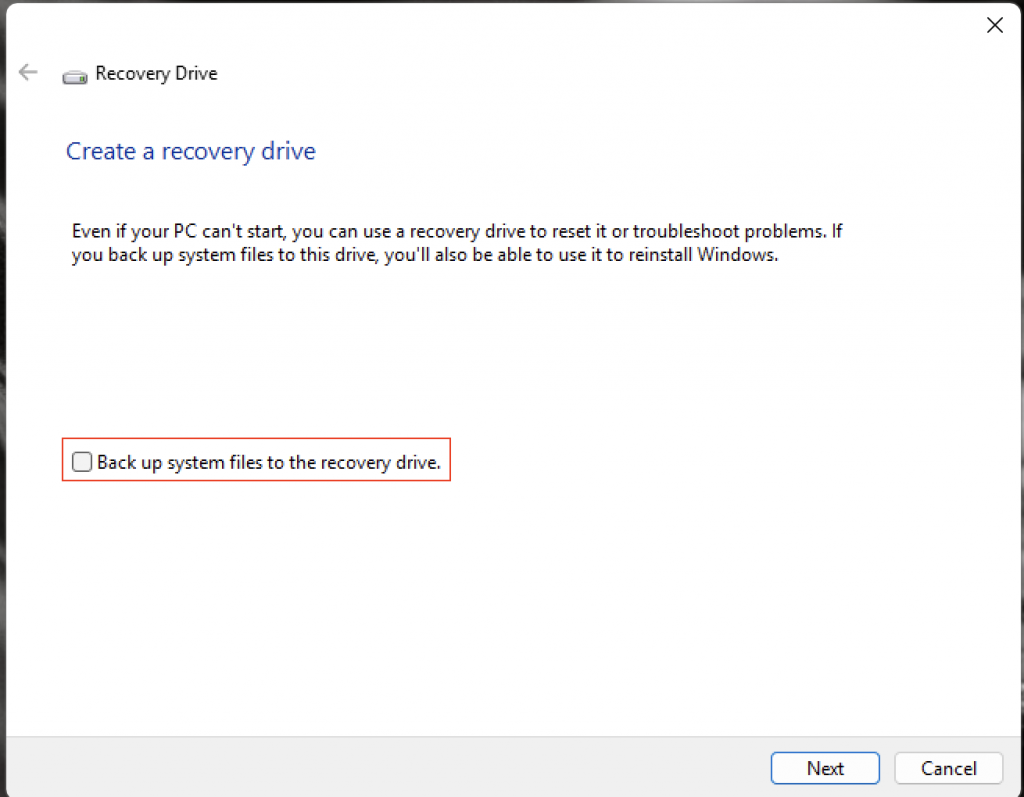
Now that we have the install.wim file with the drivers included and the file split in two parts, the USB Drive can be created. Firstly create a Windows Recovery drive:
unselect the option for Back up system files to the recovery drive and then click Next
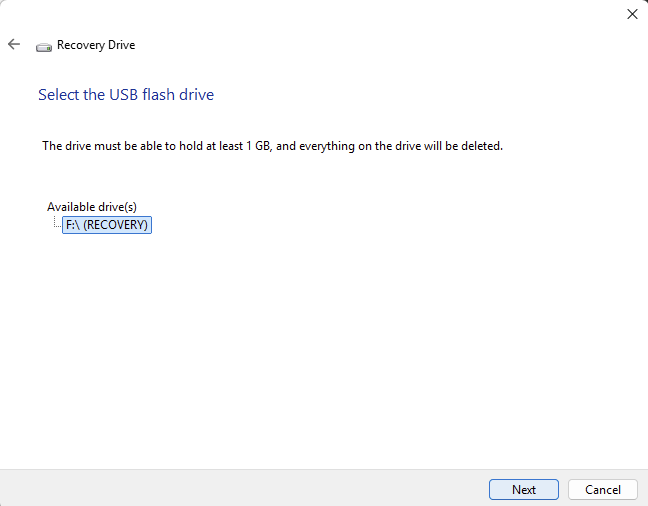
Select the drive you want to use
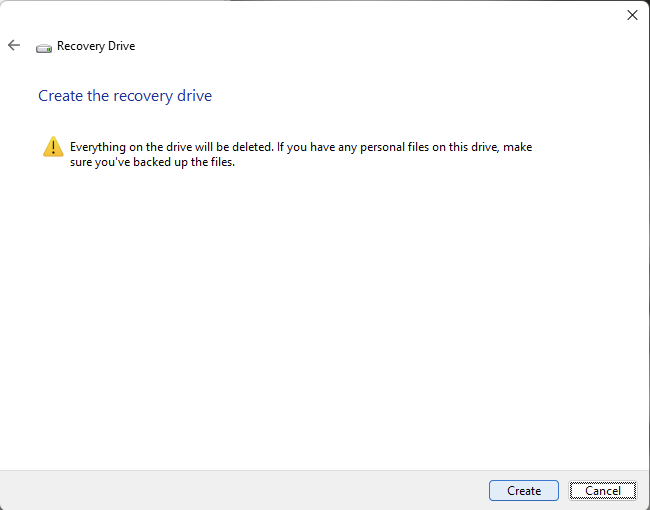
Confirm to overwriting the data on the drive
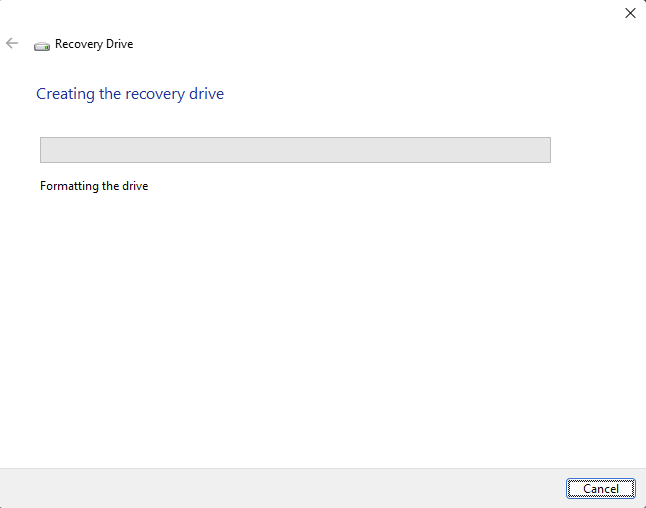
Once the recovery drive creation has completed copy the files from the folder where the ISO files were being stored.
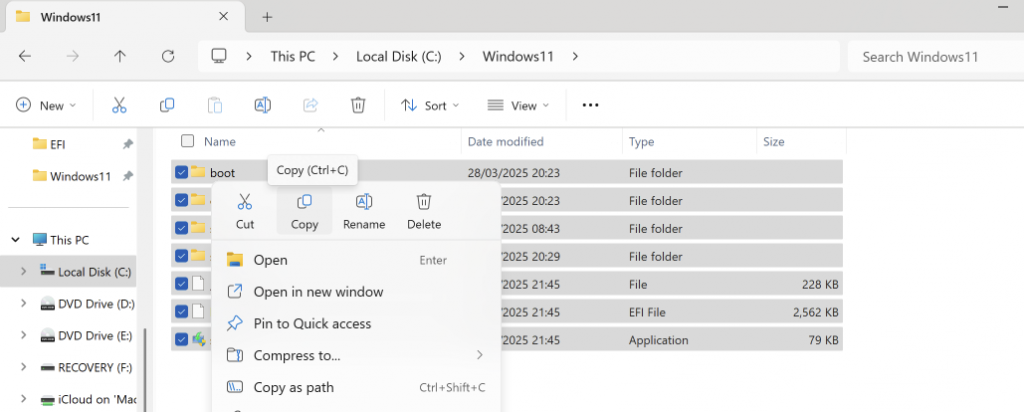
And paste on to the USB Drive:

When prompted to over right files confirm to replace the files in the destination

Once completed, connect the drive to one of the USB-C drives of the Surface, the USB-A port does not work!
Conclusion
Once I had been through the Windows installer process with the new image and registered the device in Autopilot I had a clean install of Windows 11 Ent on the Surface, with nothing else other than Windows and the installed apps via Intune. and the foot print was only 43GB as opposed to 50-70GB.
In all honesty I do not know why Microsoft have made it so hard to use a clean image on a Surface, But I now have an install of Windows on the device.
Was this helpful?
Let me know what you think!