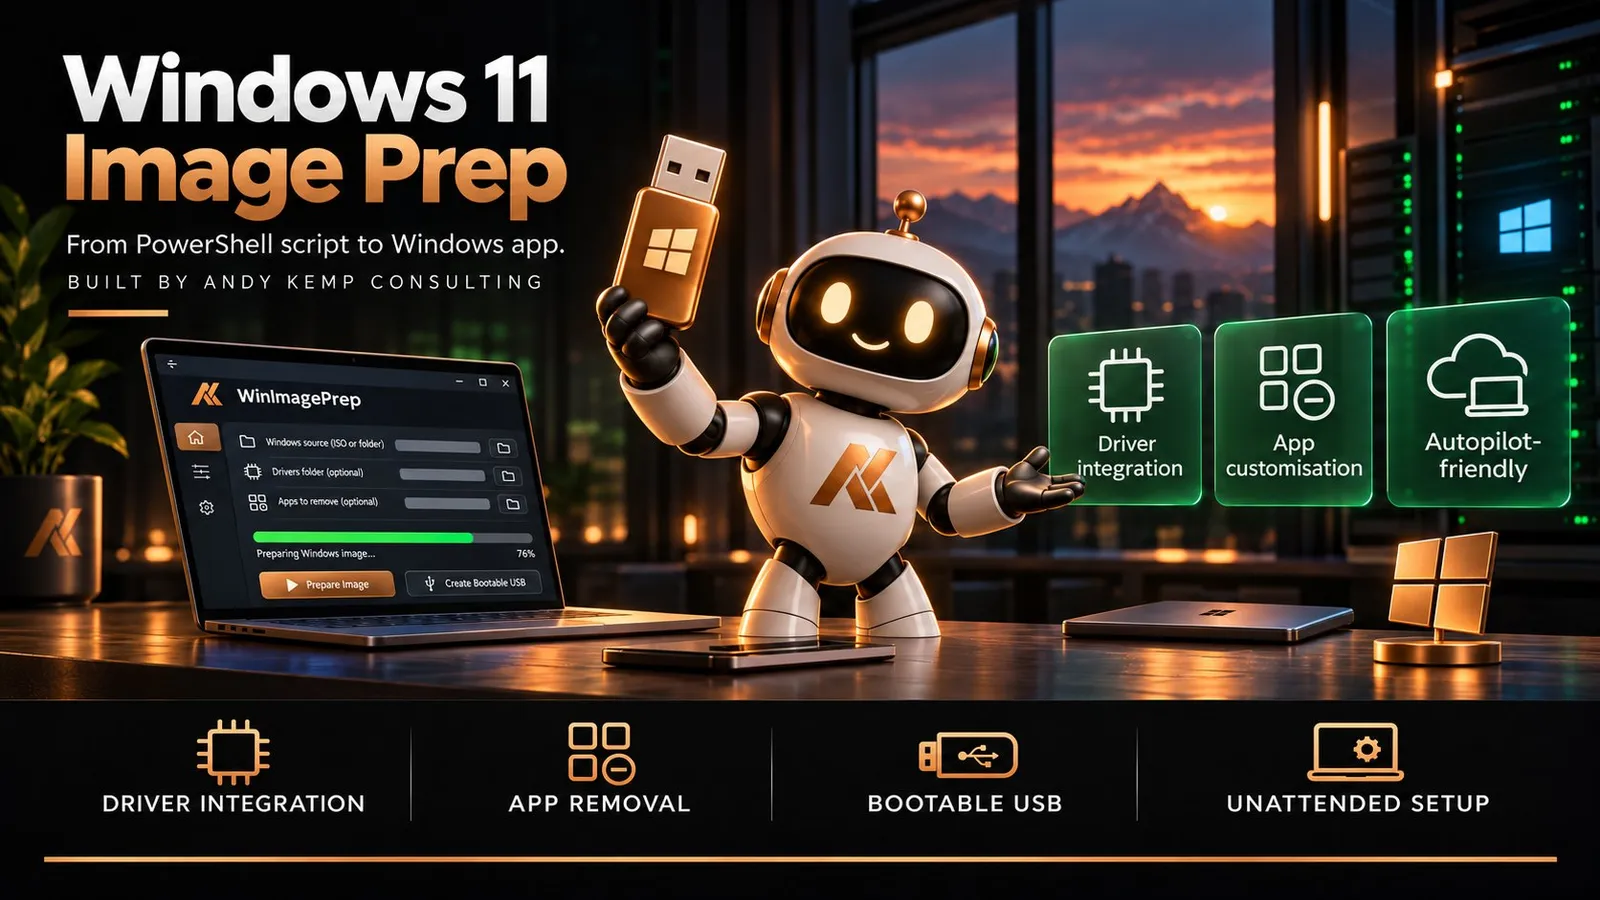
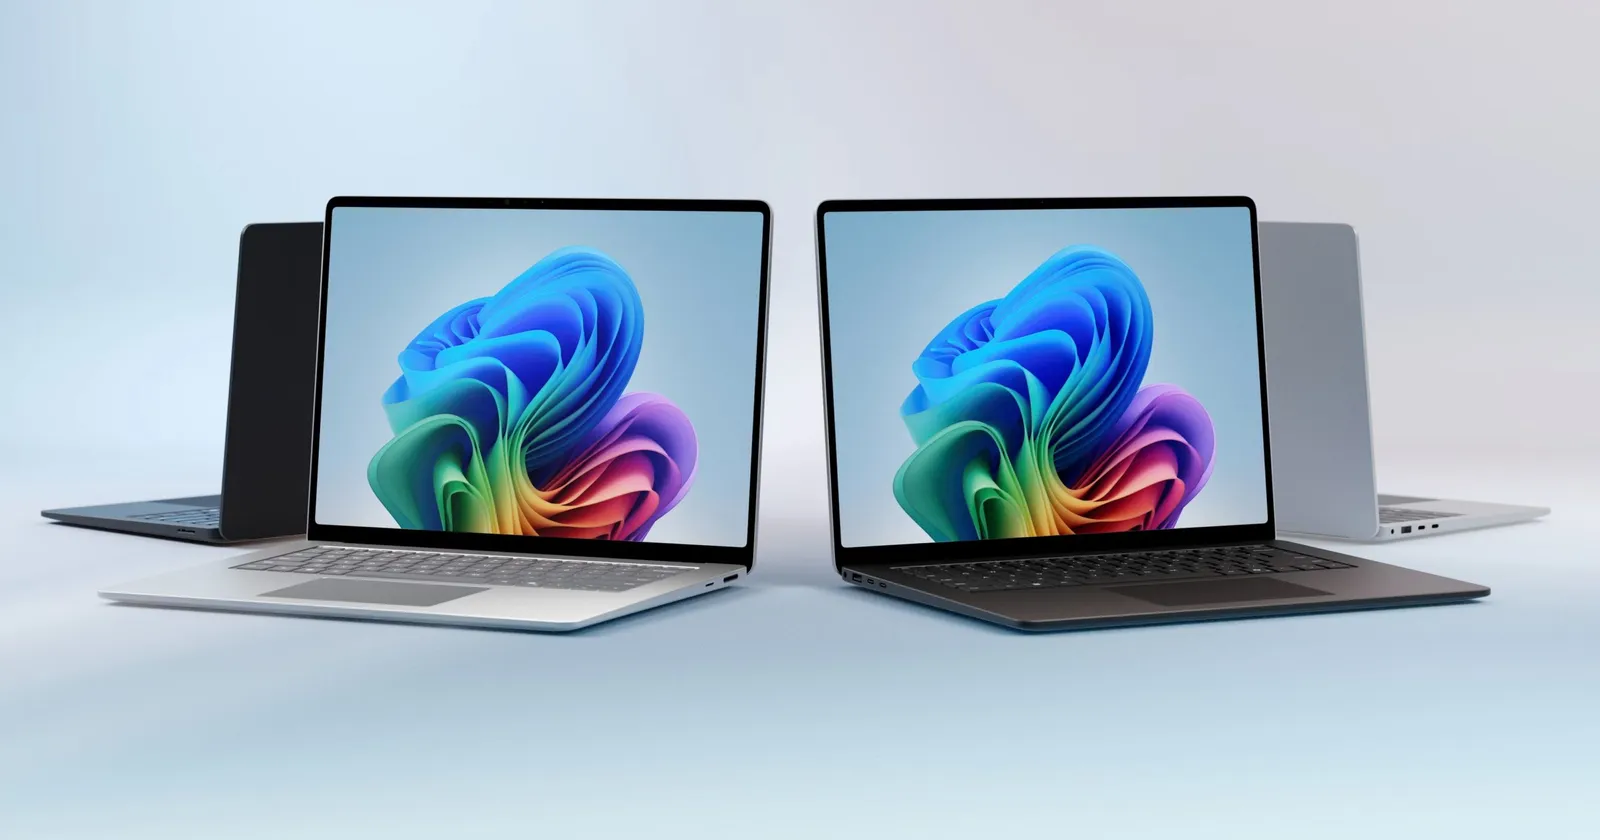
Last year I bought a Surface Laptop 7th Edition.
Then I tried to give it a clean install of Windows 11.
Setup started, and then I was stuck. No keyboard. No touchpad. The drivers Windows Setup needed weren’t on the USB stick, and resetting the device from Windows kept failing too, so I was back to the USB stick every time.
So I wrote a script. I told the story in Windows Image Prep Tool for Microsoft Surface Laptop 7th Edition: extract the Surface driver MSI, mount every image on the install media, add the drivers, and write a bootable USB.
It worked. But it took hours, and it only really worked the way I had built it.
It has grown up since then.
Why this tool exists
To install Windows on a modern device, the drivers have to be in more places than most people expect:
- Windows Setup and WinPE (
boot.wim, two images), or setup can’t see the disk or use the keyboard - Windows itself (
install.wim), for every edition you might install - The recovery environment (
winre.wim, inside every edition), or recovery and reset fail later
Doing that by hand means mounting each image, adding the drivers, committing it, and doing it again for the next one. It’s slow, it’s easy to miss one, and it’s the kind of job you do every few months, so you look it all up again every time.
Add the rest of a good build:
- remove the built-in apps you don’t want
- answer the setup questions, or hand over cleanly to Autopilot
- split
install.wimso it fits on a FAT32 USB stick - make an ISO for Hyper-V or Configuration Manager
That’s a lot of steps to get right before you’ve installed anything.
Win11 Image Prep
Win11 Image Prep is a free Windows app that does all of it. You give it a Windows 11 ISO and your driver packs, and it gives you install media with your drivers already in it: a bootable USB stick, an ISO, or a saved image you can reuse.
It works with any Windows 11 ISO, including Media Creation Tool ISOs, and any driver pack that comes as an MSI, a ZIP or a folder. It started with my Surface Laptop 7th Edition (Arm), and it builds for x64 devices too.
The screenshots below are from the live demo, a simulation of the app that runs in your browser with a made-up Contoso organisation. Nothing in it is built or downloaded, so you can click through every step.
Choose the ISO
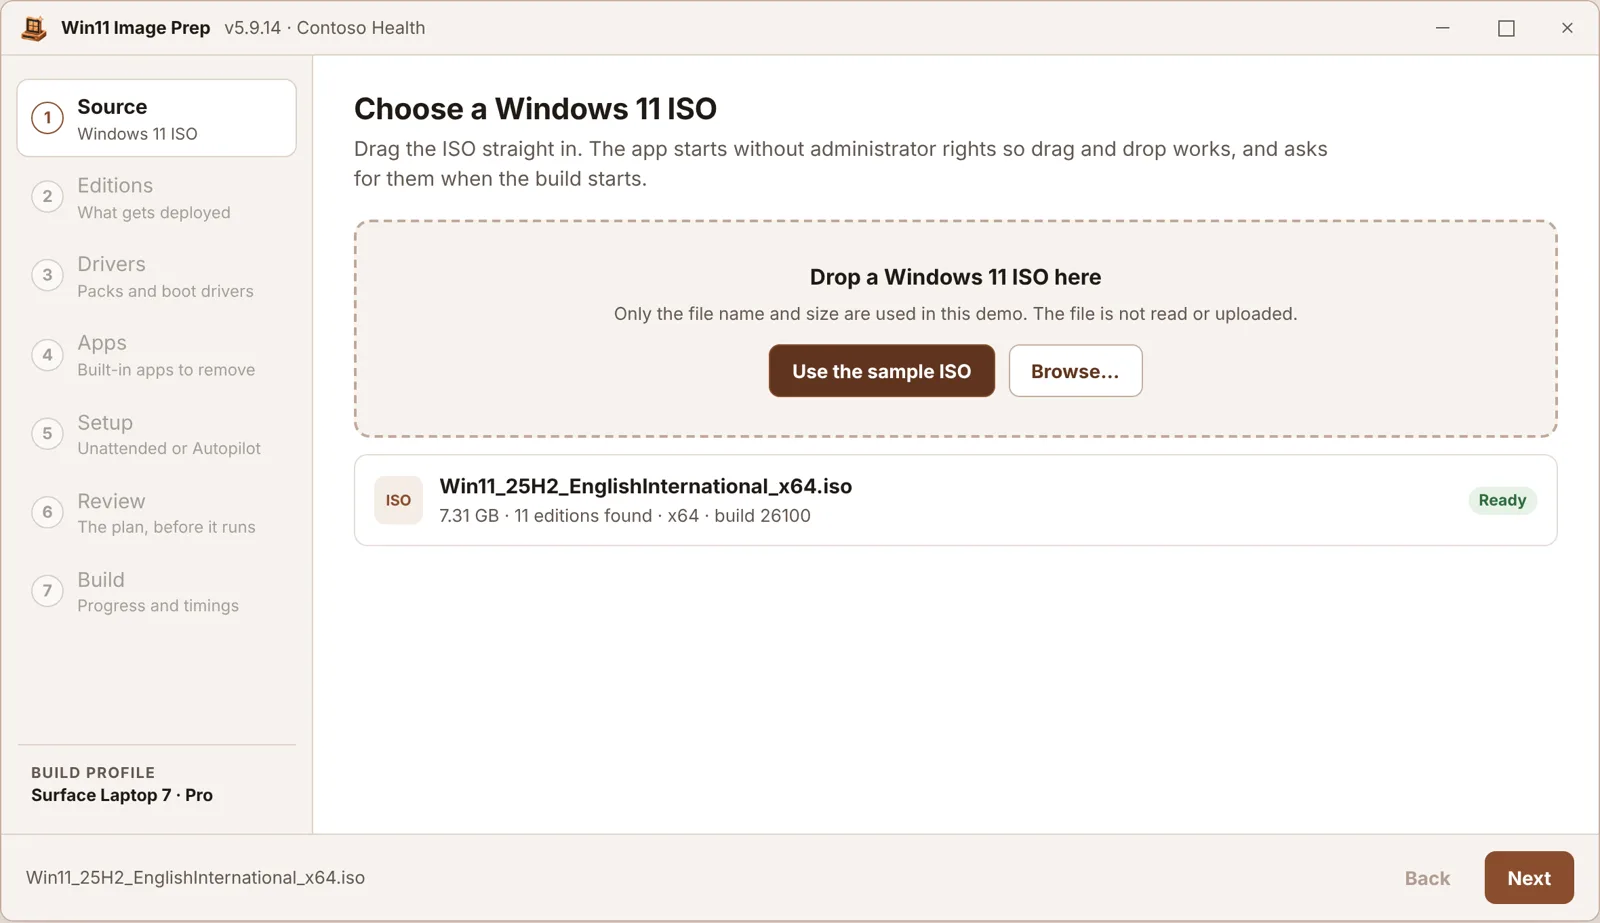
Drag your ISO in, or browse for it. The app reads the editions, architecture and Windows build inside it.
The app starts without administrator rights so that drag and drop works (Windows blocks it into an administrator window), and only asks for them when the build starts.
Pick the editions
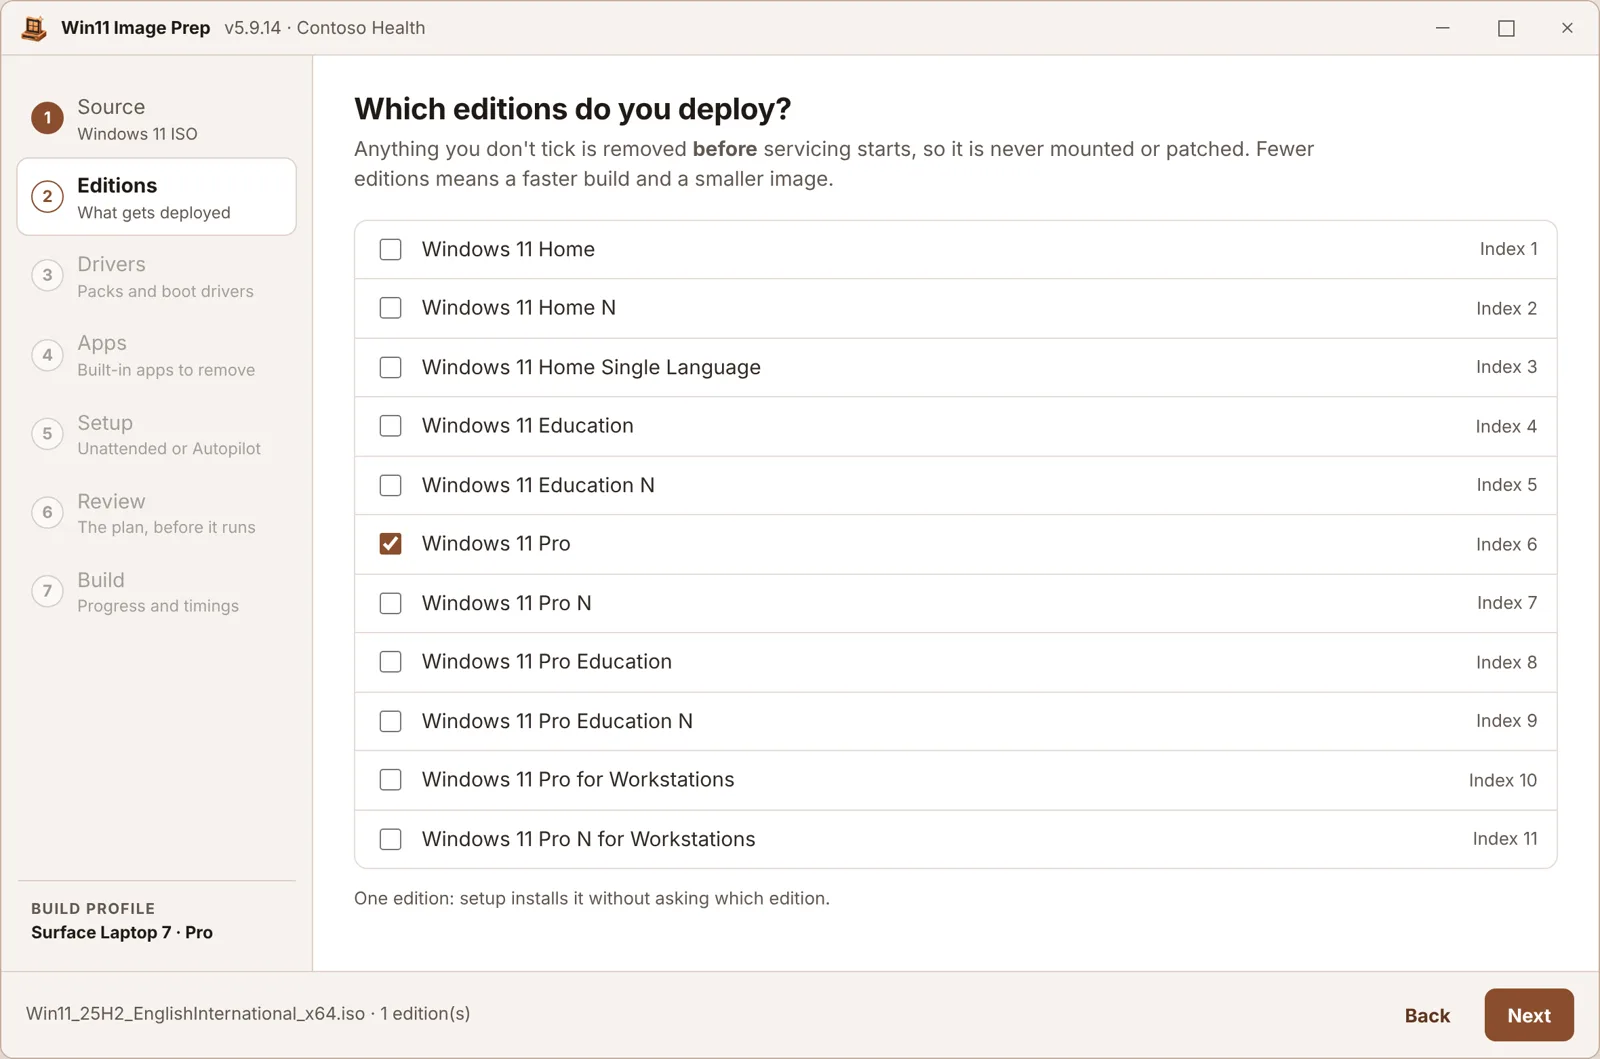
A Microsoft ISO has around ten editions. You probably want one or two. The others are removed first, before anything is mounted, so no time is spent on editions you’ll never install.
Add the drivers
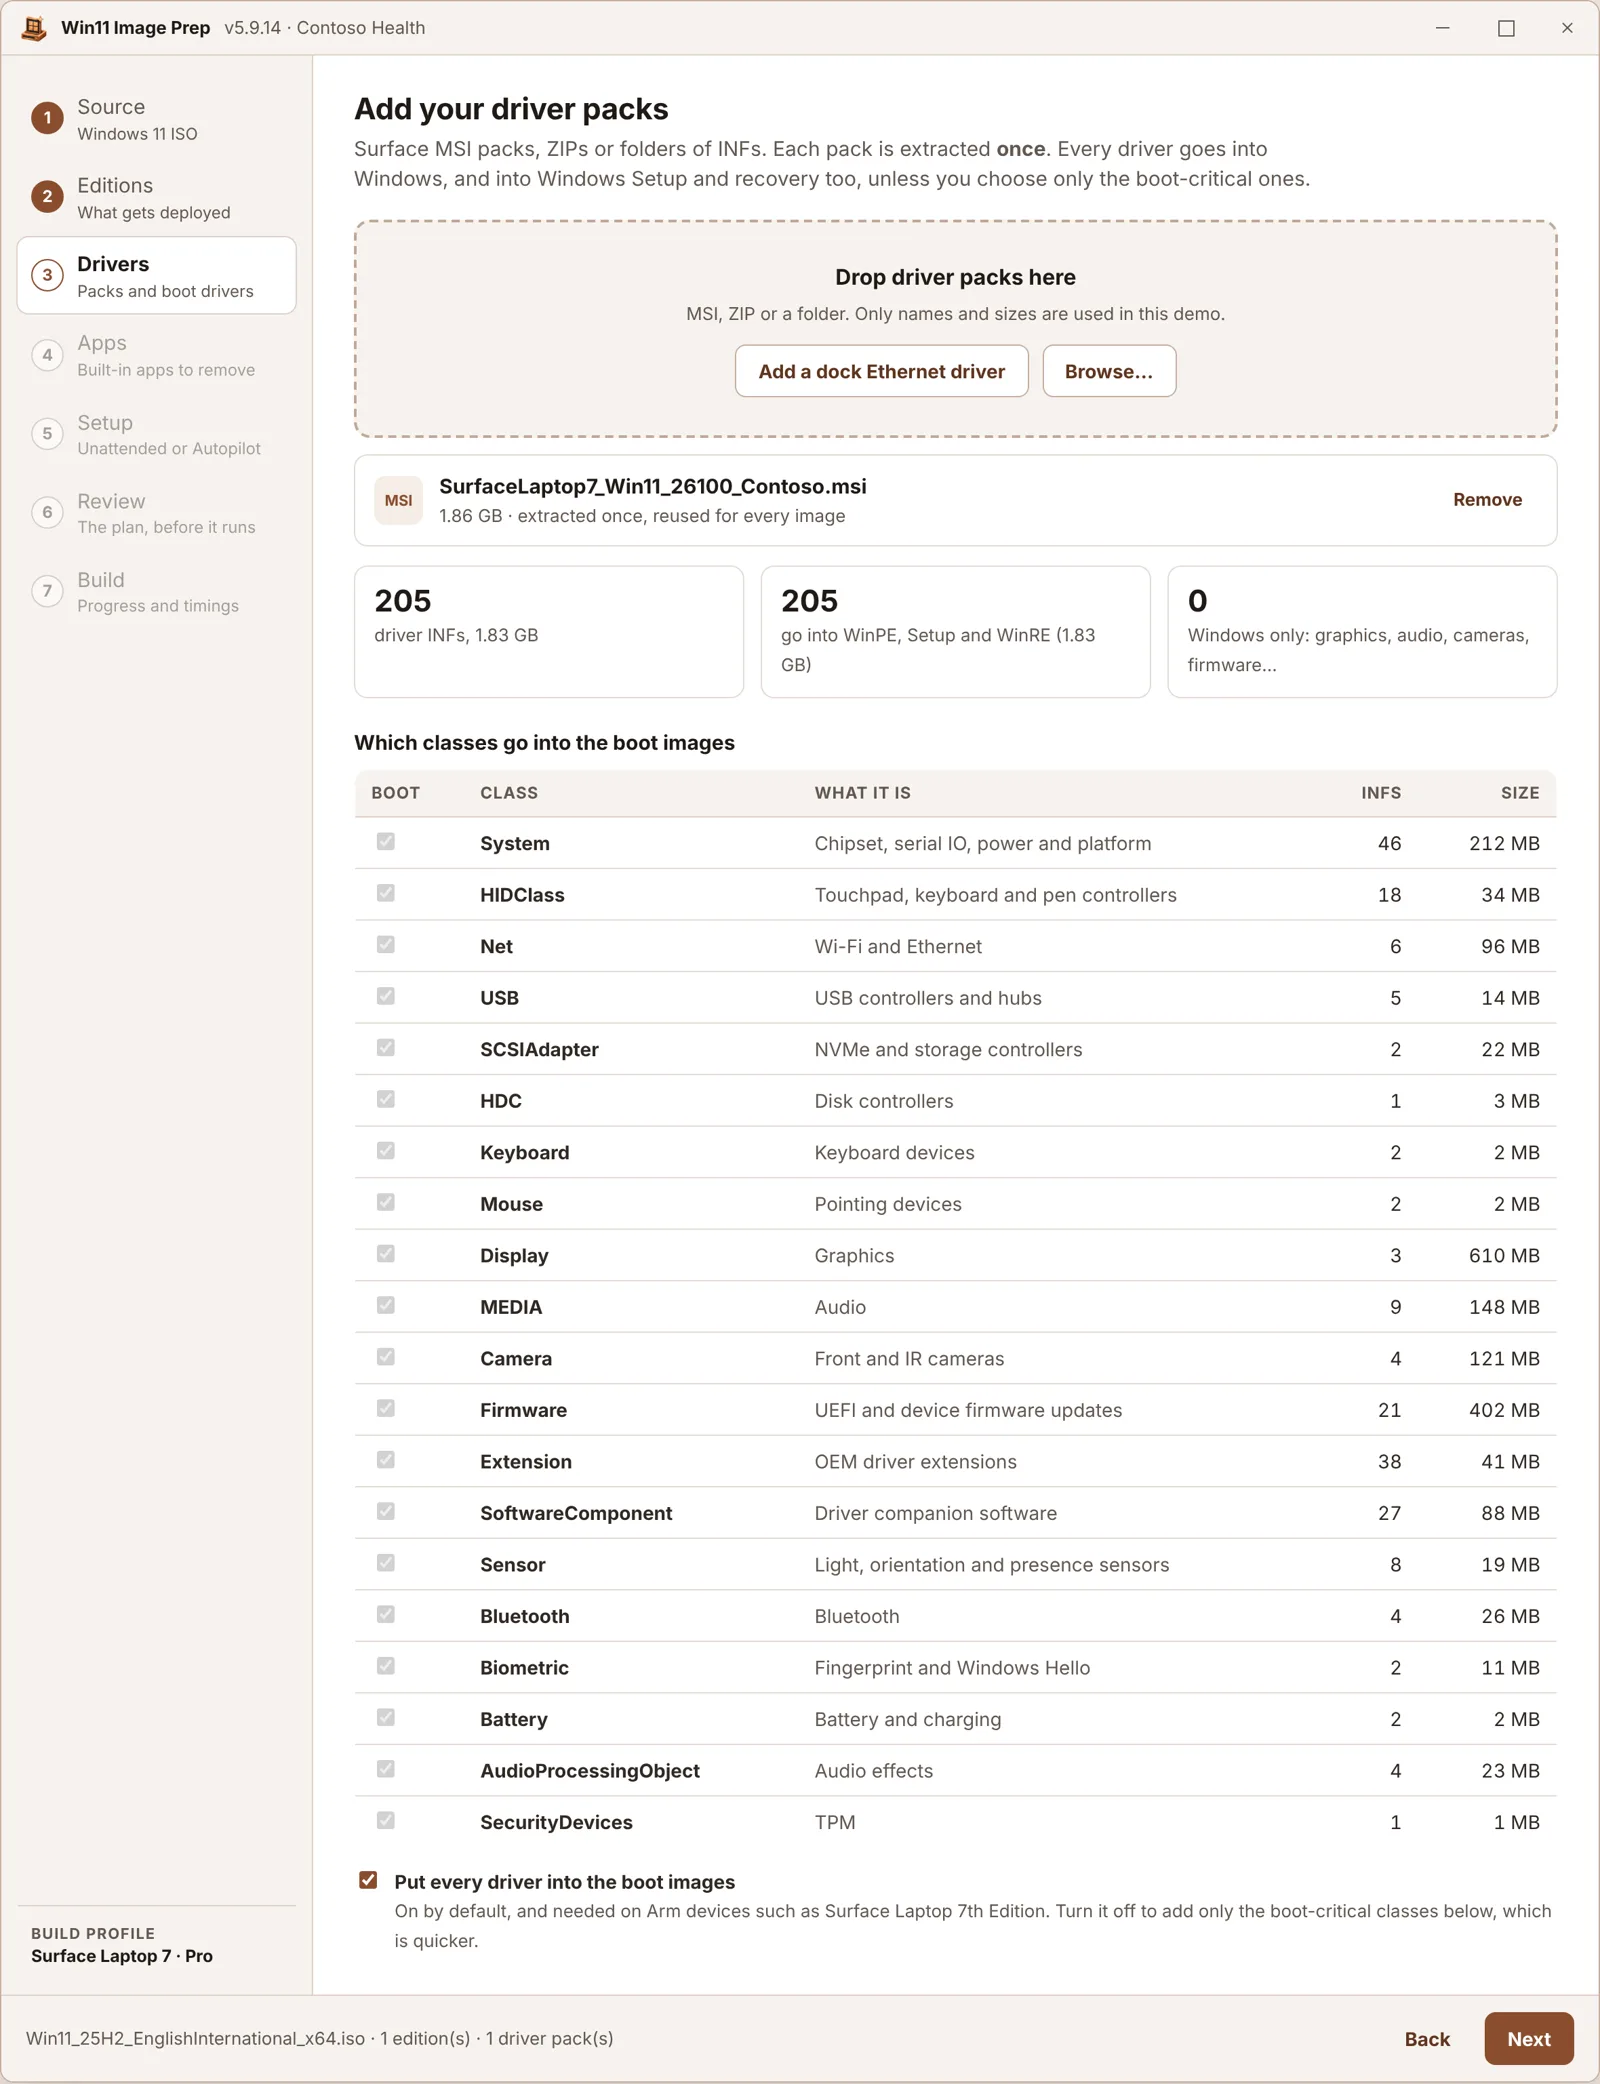
Add as many packs as you like: a Surface MSI, a ZIP, a folder of INF files, or a dock’s Ethernet driver. Each pack is extracted once, and the app reads every driver’s class so you can see what’s in it.
By default every driver goes into Windows, Setup and recovery. That’s the safe choice, and Arm devices like the Surface Laptop 7th Edition need it. You can limit Setup and recovery to the boot-critical drivers (storage, network, USB and input) for a quicker build on simpler hardware.
Remove built-in apps
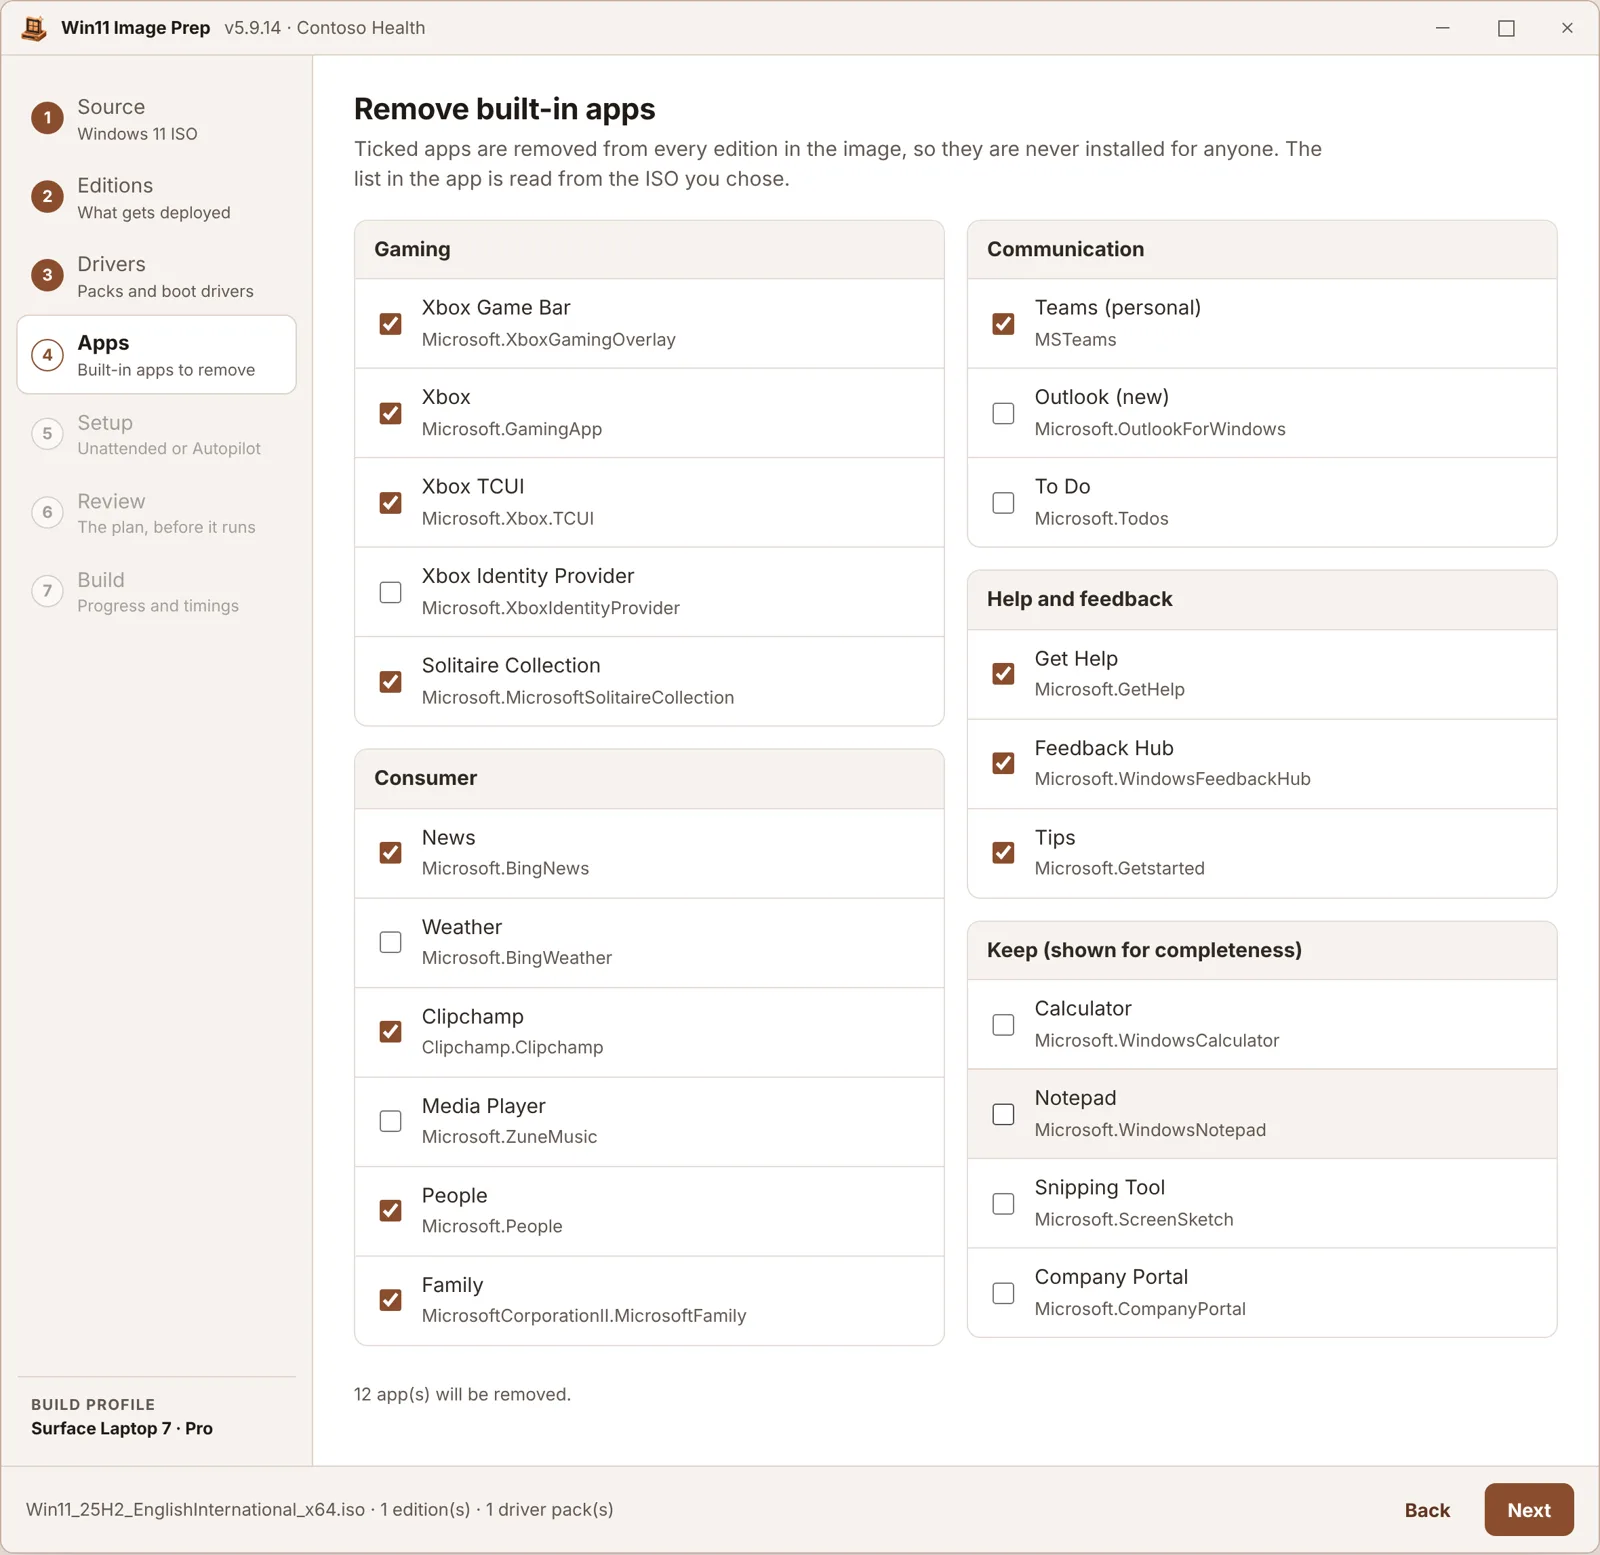
Tick the built-in apps you don’t want, and they’re removed from the image before it’s ever installed.
Choose how setup runs
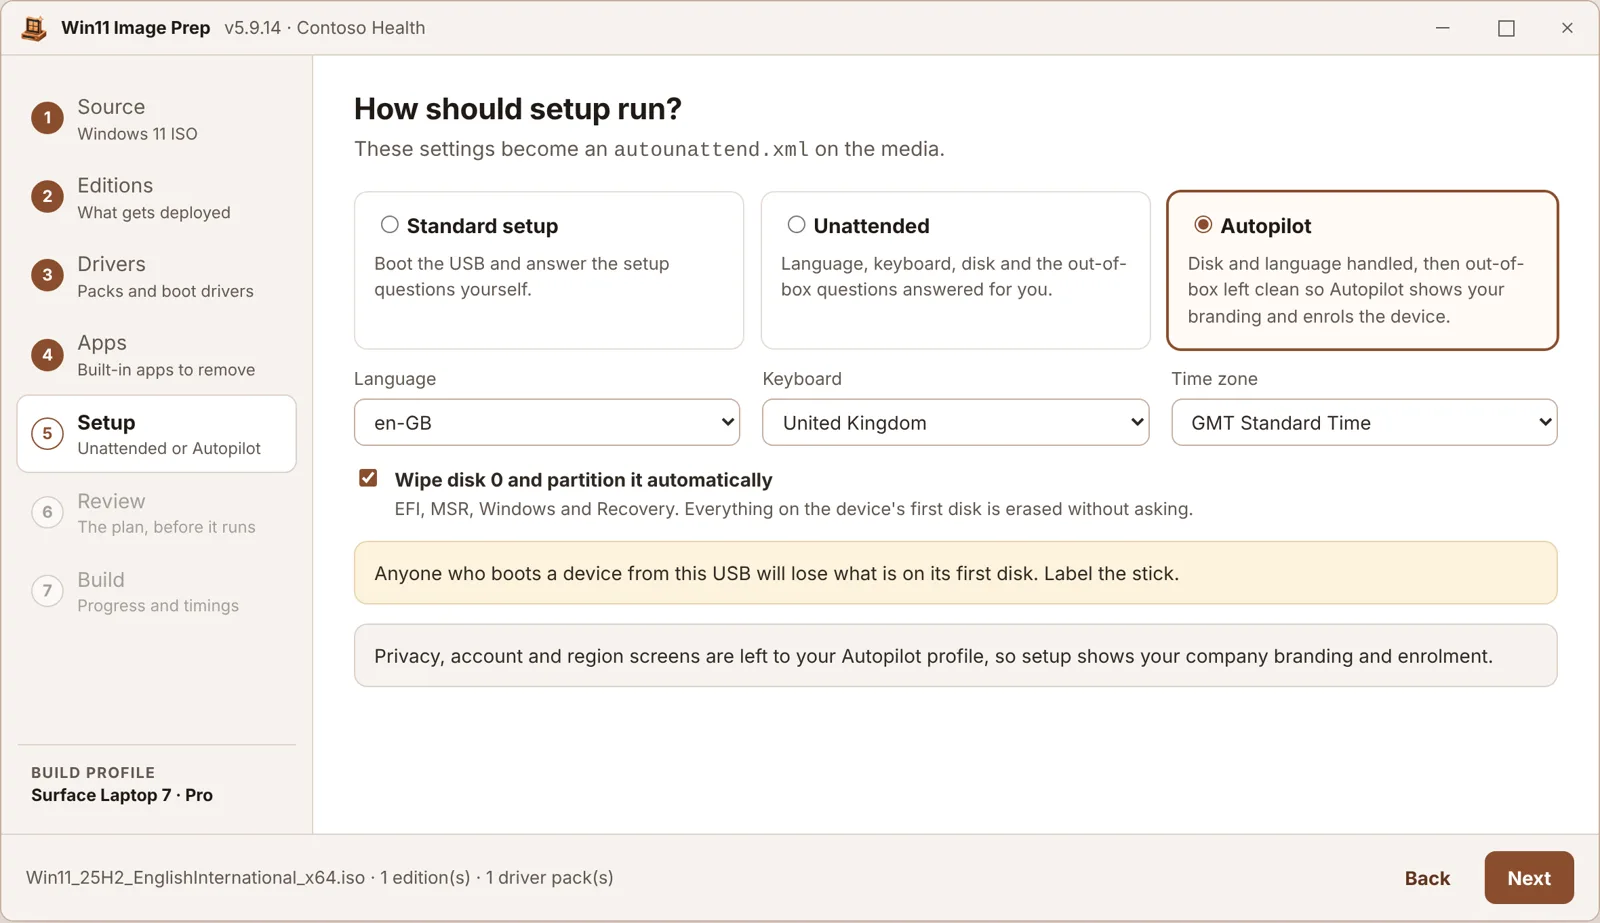
Three options:
- Standard setup: boot the USB and answer the questions yourself
- Unattended: language, keyboard, disk and the out-of-box questions answered for you
- Autopilot: the disk and language are handled, then the out-of-box experience is left alone so Autopilot shows your company branding and enrols the device
Unattended and Autopilot can wipe and partition the first disk. The app says so plainly, because anyone who boots a device from that USB will lose what’s on it. Label the stick.
Review the plan
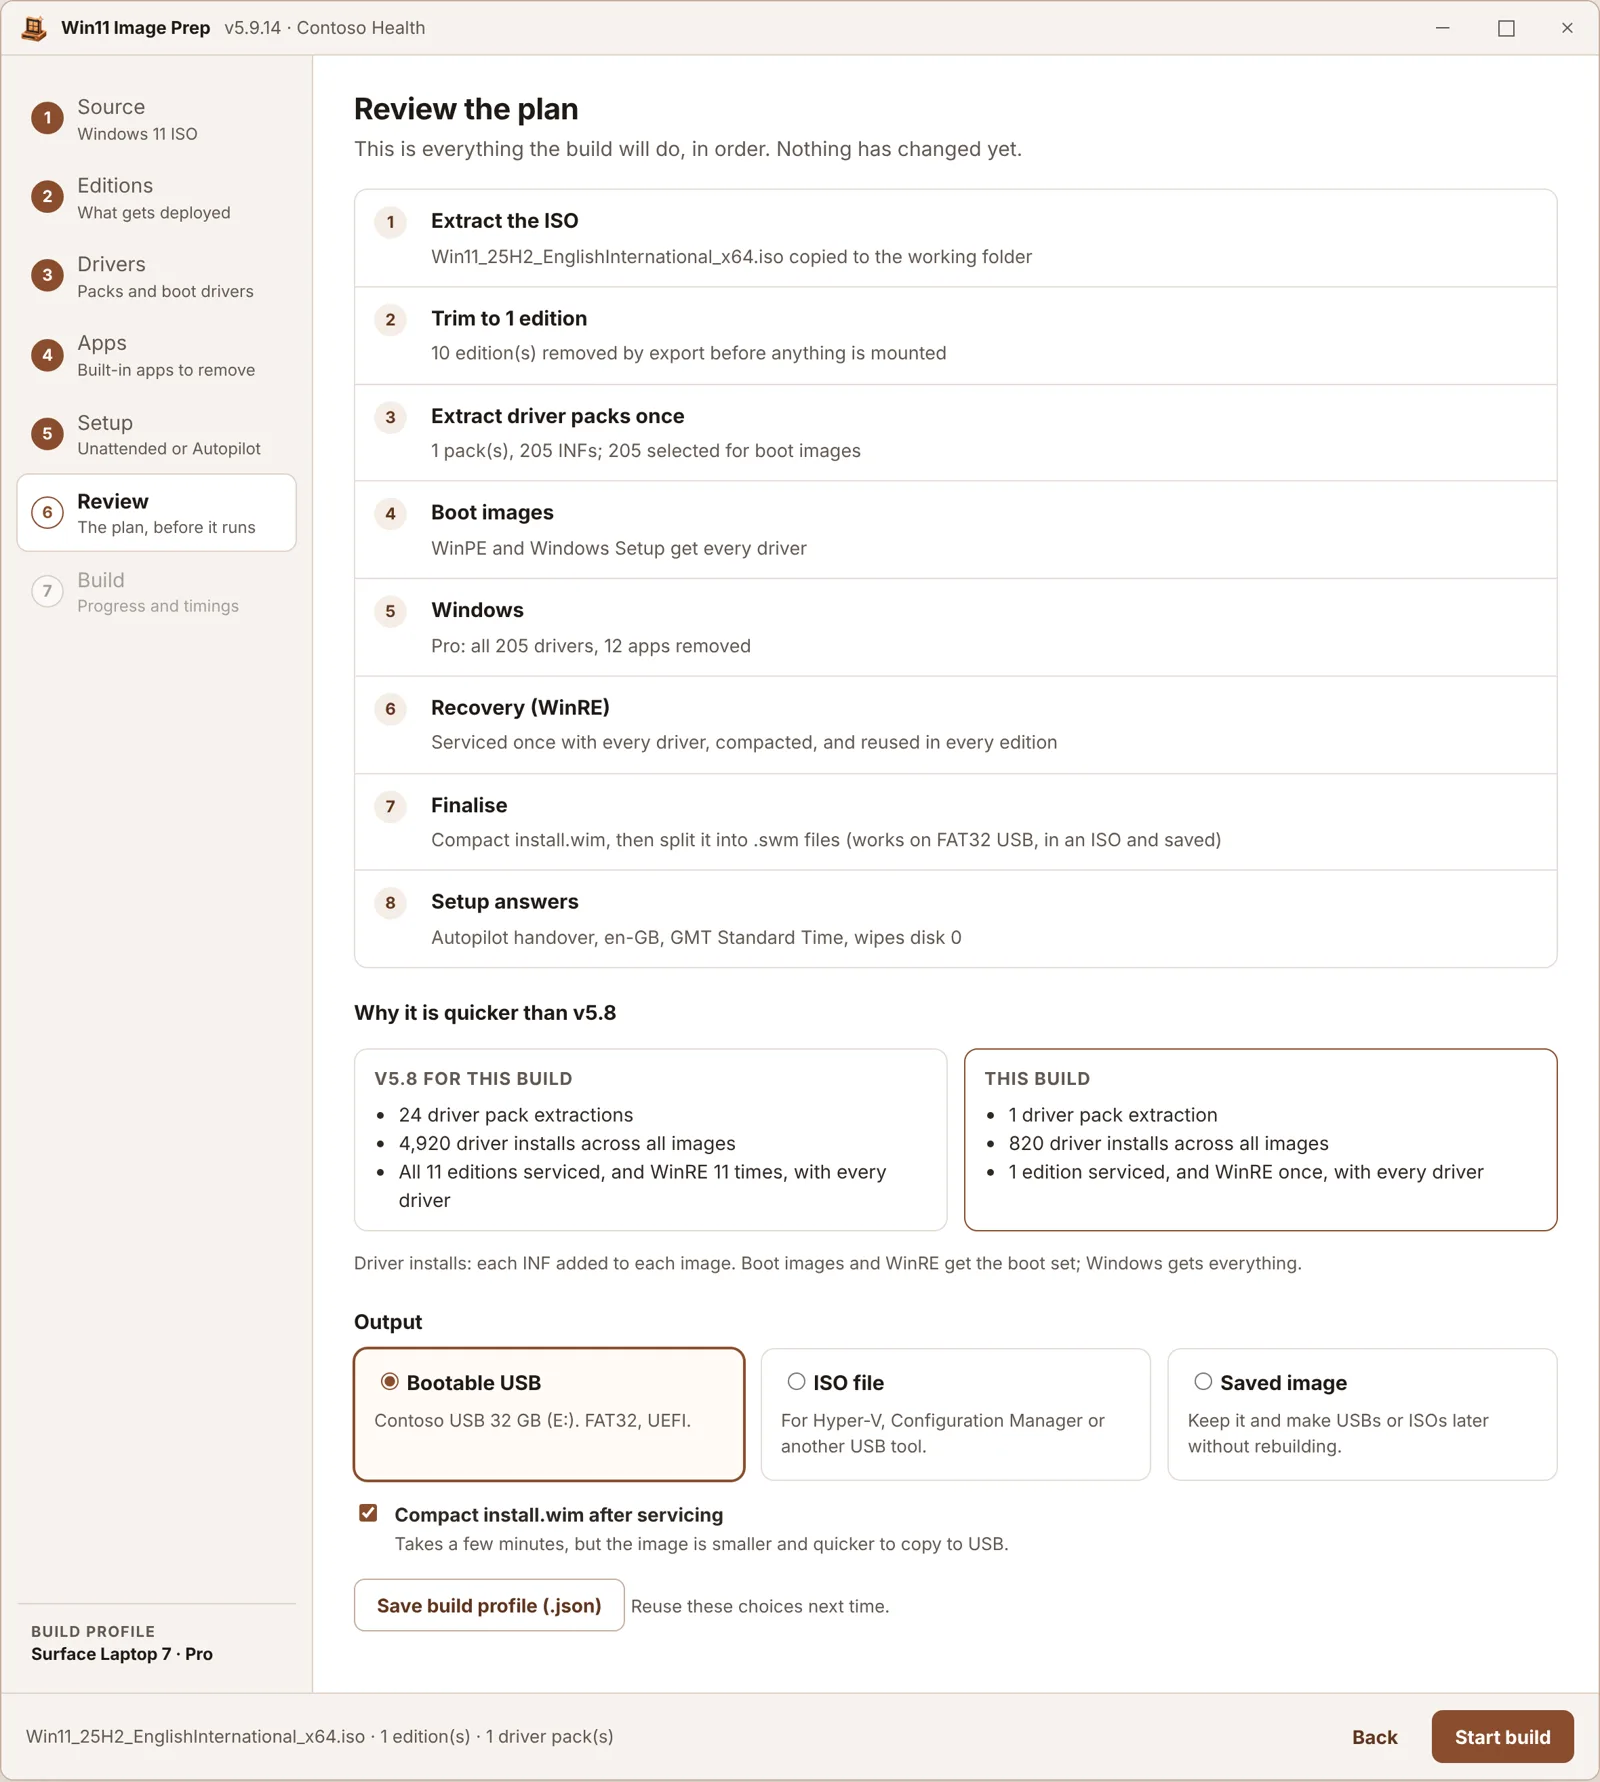
Before anything changes, you see the whole plan in order: which editions, which drivers go where, which apps go, how setup will run, and what you’ll get at the end. Choose a USB stick, an ISO or a saved image, and save the choices as a build profile for next time.
Build
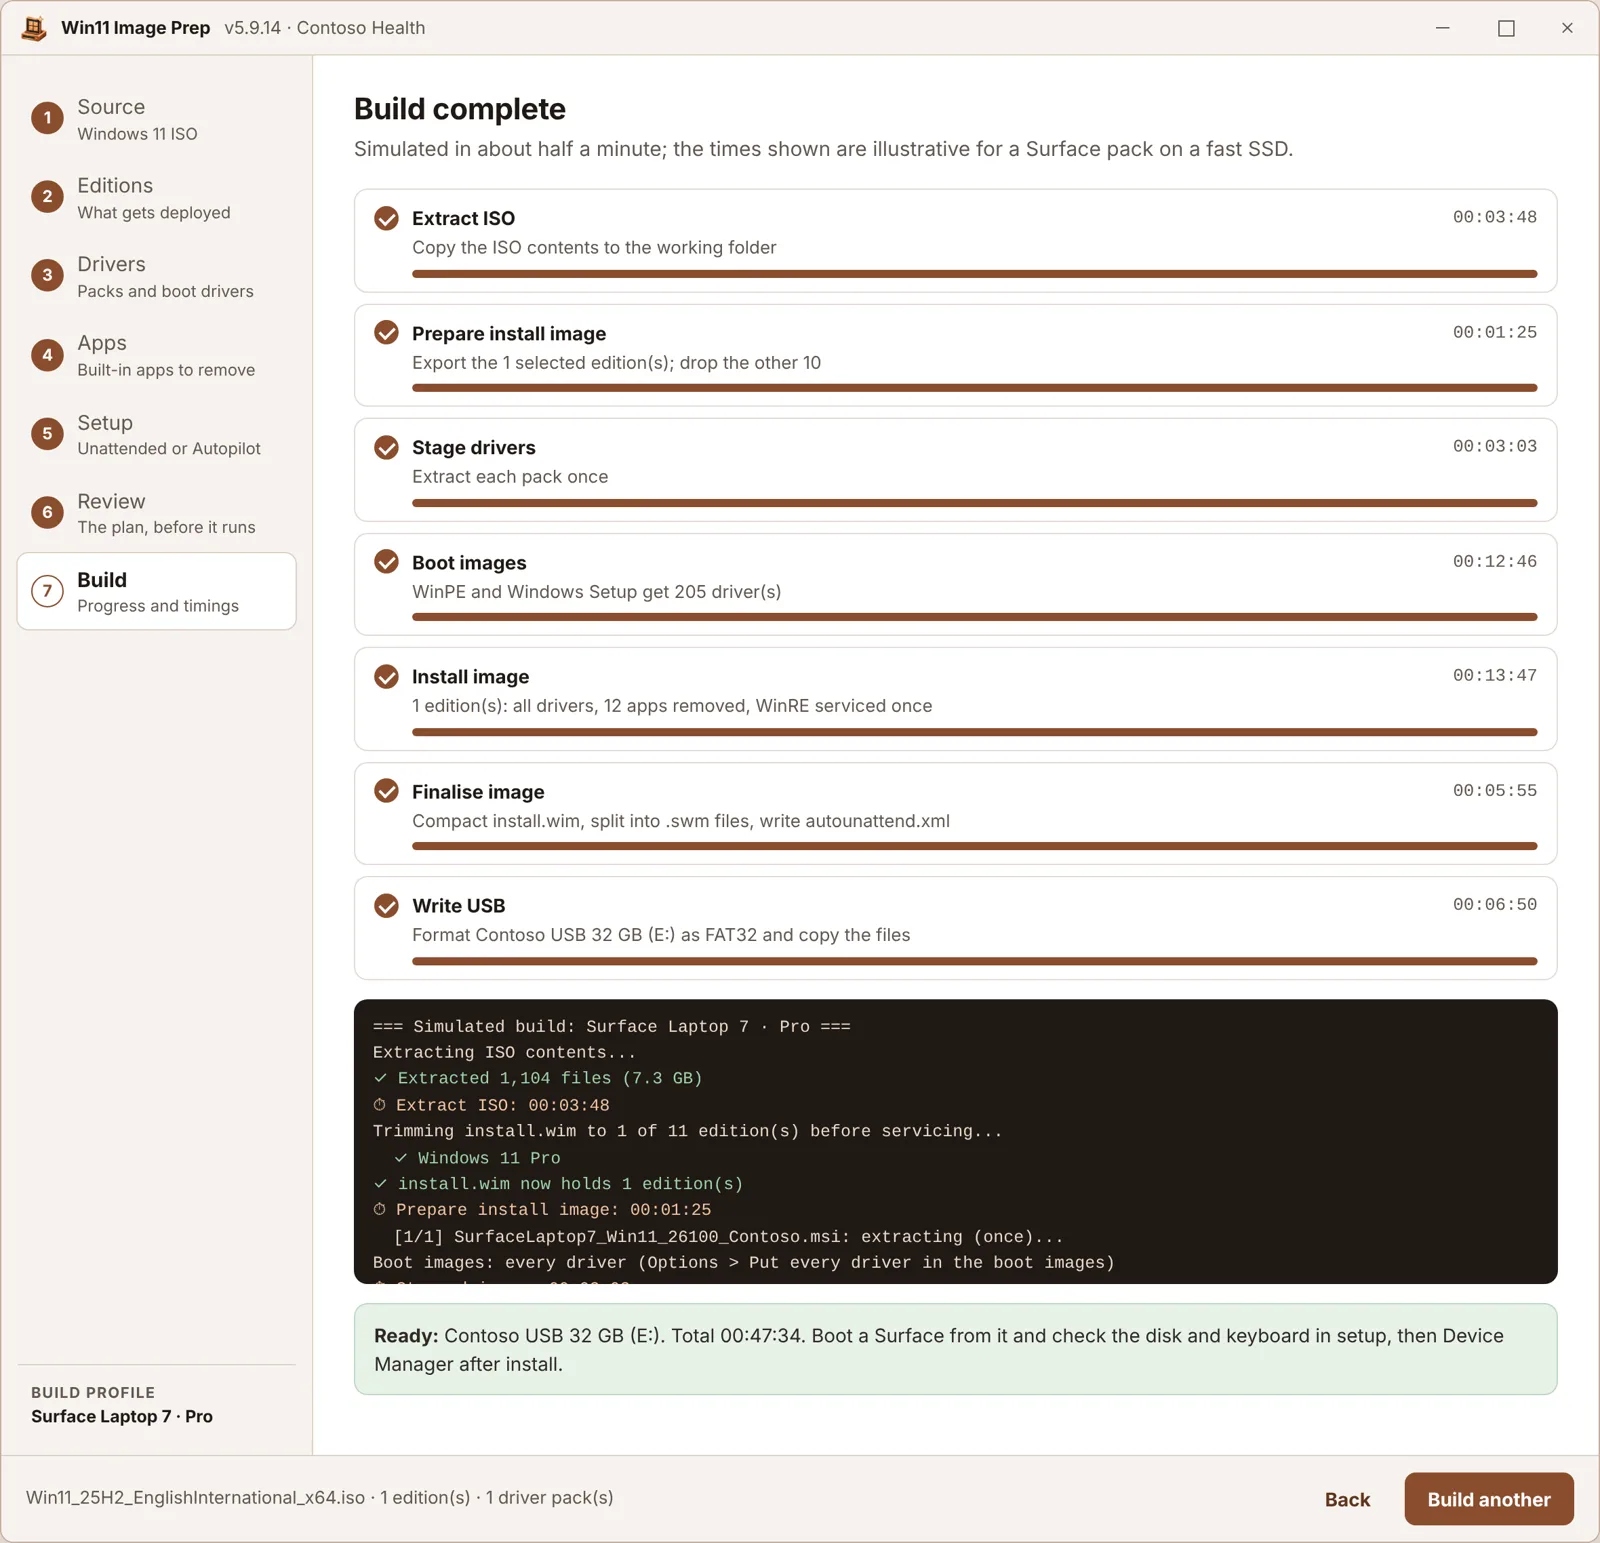
Then it builds. Each stage shows its progress and how long it took, and the log ends with a timing summary, so you can see exactly where the time goes.
What changed from the script
The script did the job. The app does it properly.
It’s much quicker. As the script grew, most of the build time went on repeating the same work. It extracted the driver pack again for every image, serviced every edition in the ISO (and removed the unwanted ones afterwards), and serviced the recovery image once per edition. Now:
- each driver pack is extracted once
- the editions you don’t want are removed before anything is mounted
- the recovery image is serviced once and reused in every edition
- the image is compacted at the end, so it’s smaller and quicker to copy
For one edition from a typical ISO, that’s 1 driver pack extraction instead of 24.
ISOs work end to end. Create an ISO from a build or a saved image. If the Windows ADK Deployment Tools aren’t installed, the app offers to install them: it downloads Microsoft’s setup, checks it’s signed by Microsoft, and installs only what it needs.
Saved images. A build can be saved and reused, so you can write more USB sticks or ISOs later without building it again.
It always splits install.wim, so the same image works on a FAT32 USB stick, in an ISO and as a saved image.
It fits a small screen. The log can be shown or hidden, and starts hidden on a screen as short as a Surface’s.
A lesson from the Surface Laptop 7
One thing I got wrong on the way, and it’s worth sharing.
To speed builds up, I put only the boot-critical drivers into Windows Setup and the recovery environment: storage, network, USB, keyboard and touchpad. Graphics, audio, cameras and the rest went into Windows only.
On an x64 device that’s fine. On my Surface Laptop 7th Edition, setup froze.
Arm devices like the Snapdragon Surface need far more of their platform drivers in setup than you’d guess from the driver classes. So every driver goes into Setup and recovery again by default, and limiting them is now an option you choose, not the default.
If a device ever can’t see its disk or keyboard in setup, that’s the first thing to check.
Install it, and forget about updates
There are two downloads on the Win11 Image Prep page, both with the .NET runtime included:
- The installer (
Win11ImagePrep_Setup.exe): installs for all users in Program Files, with a Start menu shortcut and an entry in Settings > Apps - A portable EXE (
WinImagePrep_full.exe): nothing to install. Run it from anywhere, including a USB stick
Every download is checked against its published SHA-256.
Updates
Installed, it keeps itself up to date:
- Setup adds a scheduled task that runs as SYSTEM once a day and after start-up
- it checks for a newer version, downloads the installer, checks its SHA-256, and installs it silently
- it never closes the app while you’re using it: if the app is open, it tries again next time
- Update now in the app uses the same task, so updating needs no administrator rights and no UAC prompt
The portable EXE updates itself too, from Tools > Check for Updates.
Deploy it with Intune
The installer installs silently, so it deploys as a Windows app (Win32) in Intune, or with Configuration Manager or a script:
Win11ImagePrep_Setup.exe /VERYSILENT /SUPPRESSMSGBOXES /NORESTARTDeploy it once and the scheduled task keeps it current, so you don’t need to add every new version to Intune. If you’d rather control the version yourself, add /MANAGEDUPDATES=1: the app won’t update itself, and you deploy each new version as an app that supersedes the last.
The docs have the full Intune settings, including the detection rule: Deploying with Intune.
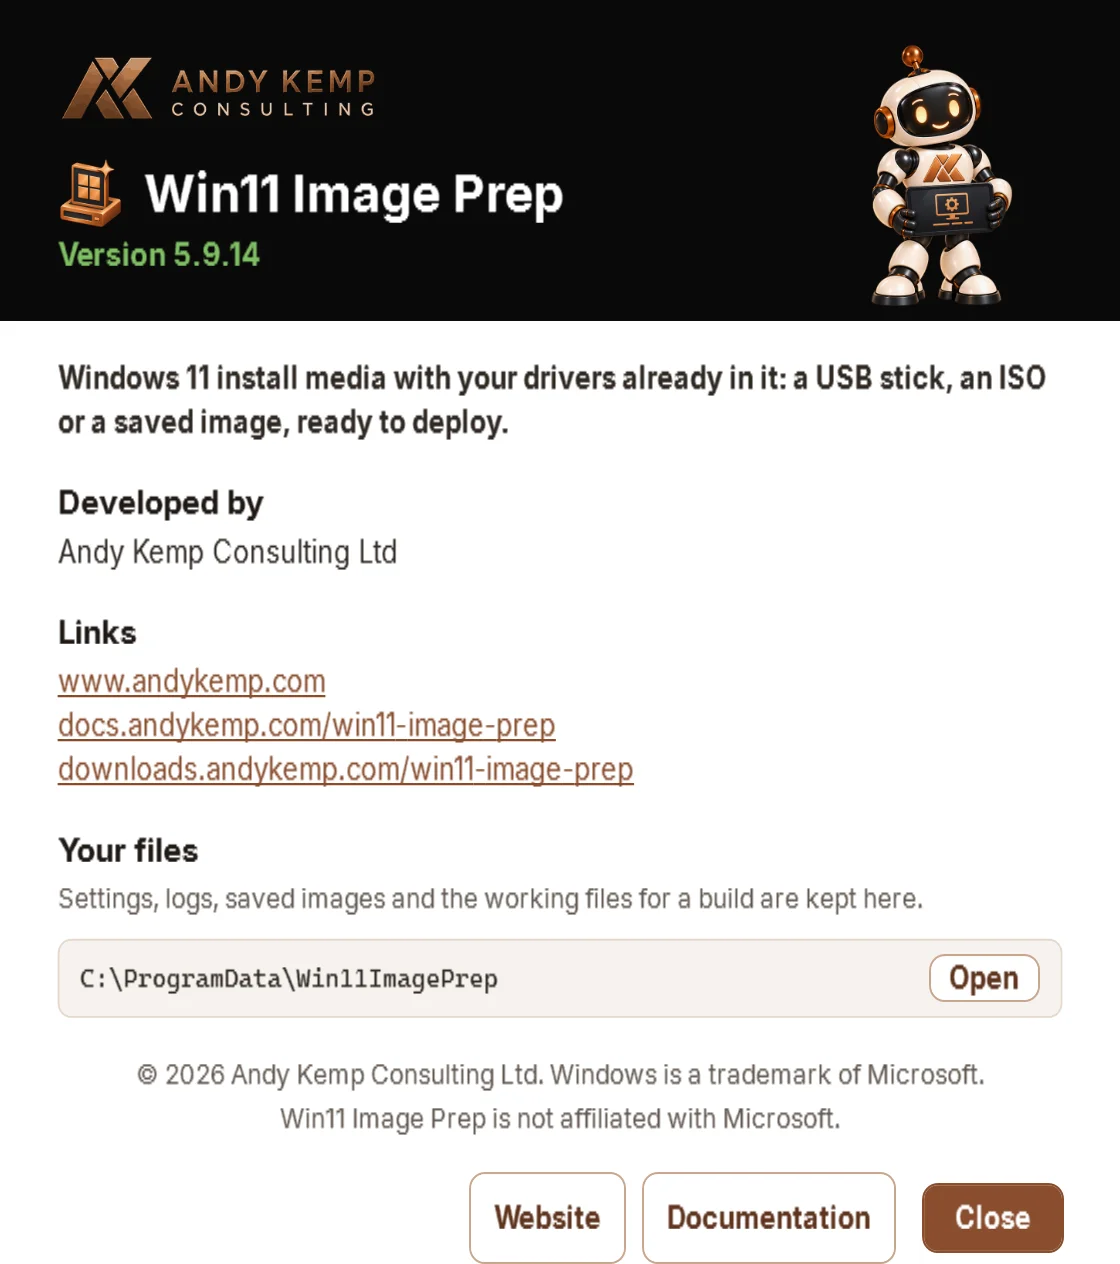
Getting it
It’s free.
- Try the live demo in your browser
- Read the docs, including a quick start and troubleshooting
- Download it from the tools site
If there’s something you’d like it to do, or a device it doesn’t get right, let me know.
I still think Windows 11 should install on a Surface Laptop 7th Edition with less effort than this. But until it does, this is how I build mine.


Comments
No comments yet — be the first to leave one below.
Published — it will appear for everyone in a couple of minutes once the site updates.